

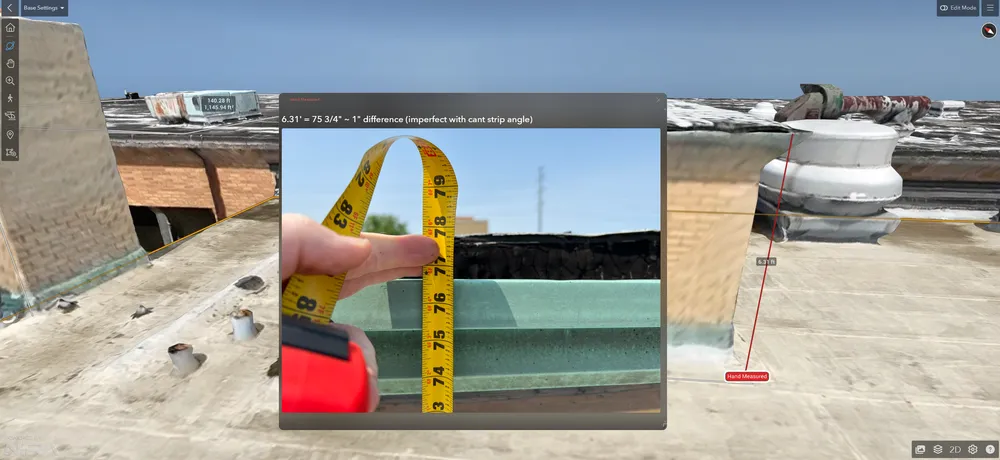
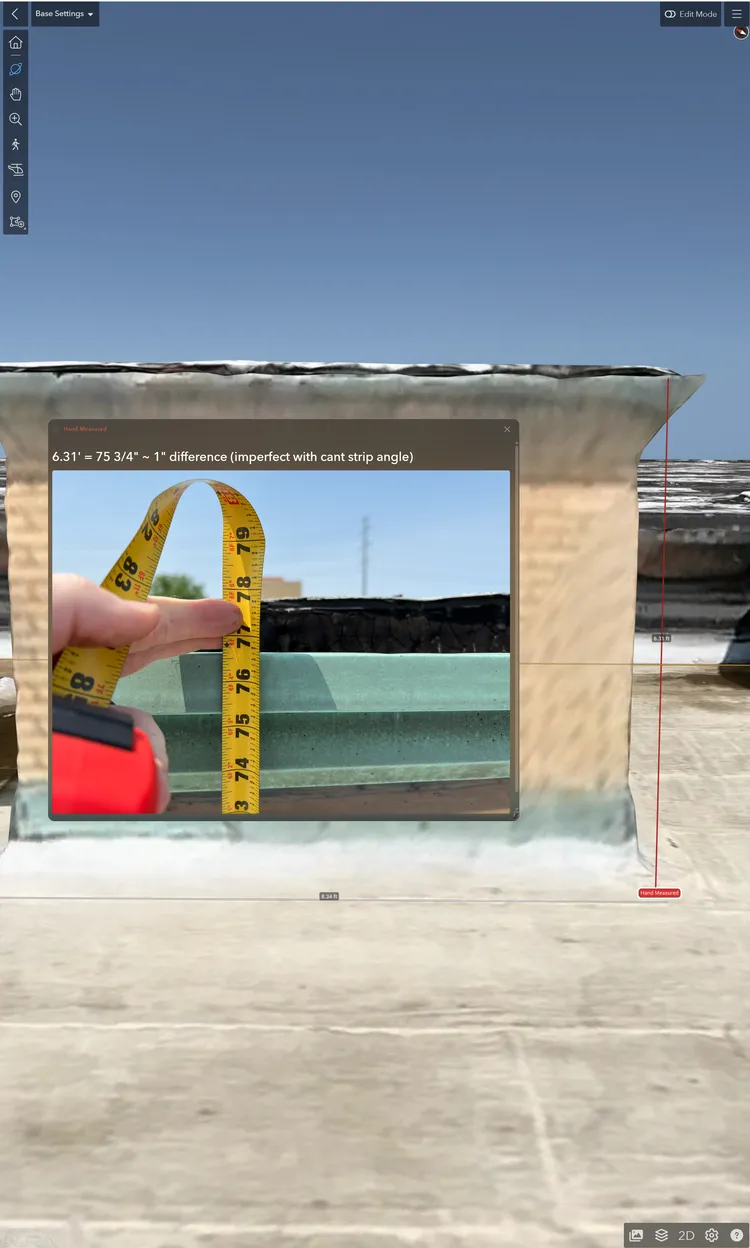
What is a 3D roof model?
The model shown here is built from overlapping drone photos of an existing roof. Processing matches details across the photos to reconstruct the visible surfaces. That process is called photogrammetry.
It records what the camera could see on the flight date. It is not a design for a new roof, and it does not reveal the layers underneath the surface. Your team still develops the scope and checks the roof in person.
One roof view for the whole job
A 3D model keeps the roof, its details, and the photos from the flight in context. Your team can turn the roof and zoom into an area.
Keep the model link with the job. When a scope or field question comes up, the estimator can bring in the superintendent, building owner, GC, architect, manufacturer rep, or whoever needs to weigh in—and point everyone to the same place on the roof.
- Bring someone who was not on the roof up to speed quickly.
- Review scope, staging, access, progress, and close-out from one shared view.
- Return to the same area when a question comes back later.
The field side stays simple
The checklist walks your crew through the flight. GSI handles the processing and hosting, and I teach your team how to use the model in the work they already do.
- Follow the capture checklist.
- Start the automated flight.
- Drag the flight folder into the upload page.
Tell the story, not just share a picture
A single picture shows the condition. The 3D model shows where that condition is on the roof and keeps the measurements, source photos, field photos, video, and links together so the next person can understand it.
- Measure across the roof, up walls, and through height changes.
- Click a location on the model to pull up all the drone photos captured there, then annotate the image itself.
- Add rooftop or follow-up photos to the same project.
- Add a video or link inside an annotation when the picture needs more context.
When to use the model, the roof map, or a photo
Start with the question you need to answer. These views work together; each shows something the others may leave out.
- Use the roof orthomosaic as the flat base for your takeoff. Confirm its scale in your estimating software with a known field measurement.
- Open the model when height changes, walls, or the position of a detail need a closer look.
- Open the source photo to review what the camera captured. Add rooftop photos for the close-ups and hidden areas the flight could not cover.
Know what still needs a field check
The model gives your team more context, but it does not remove the need to check certain conditions on the roof.
- Metal and glass can create noise because reflections confuse the reconstruction.
- Anything underneath a unit still requires someone on the roof.
- Coping, panel depth, and other metal details still get measured by hand.
- One known field measurement can correct the scale on a clean model. It cannot repair weak reconstruction.